Hey there, tech enthusiasts! If you're diving into the world of remote IoT management, you've come to the right place. RemoteIoT web SSH tutorial is your gateway to mastering secure access to your IoT devices from anywhere in the world. Whether you're a beginner or an advanced user, this guide will equip you with everything you need to know. So, buckle up and let's dive in!
Imagine being able to control your IoT devices from the comfort of your couch or even while you're on vacation. Sounds awesome, right? Well, with the RemoteIoT web SSH tutorial, you'll unlock the secrets to achieving just that. This technology opens up a world of possibilities for managing your smart devices securely and efficiently.
In today's fast-paced digital era, having remote access to your IoT devices is not just a luxury but a necessity. From monitoring home security systems to controlling smart lighting, the RemoteIoT web SSH tutorial will empower you to take full control of your IoT setup. So, let's get started and explore the wonders of remote IoT management!
What is RemoteIoT Web SSH?
Let's break it down for you. RemoteIoT web SSH is essentially a secure communication protocol that allows you to access and manage your IoT devices remotely via the web. It's like having a virtual key to your smart home or office, enabling you to interact with your devices anytime, anywhere.
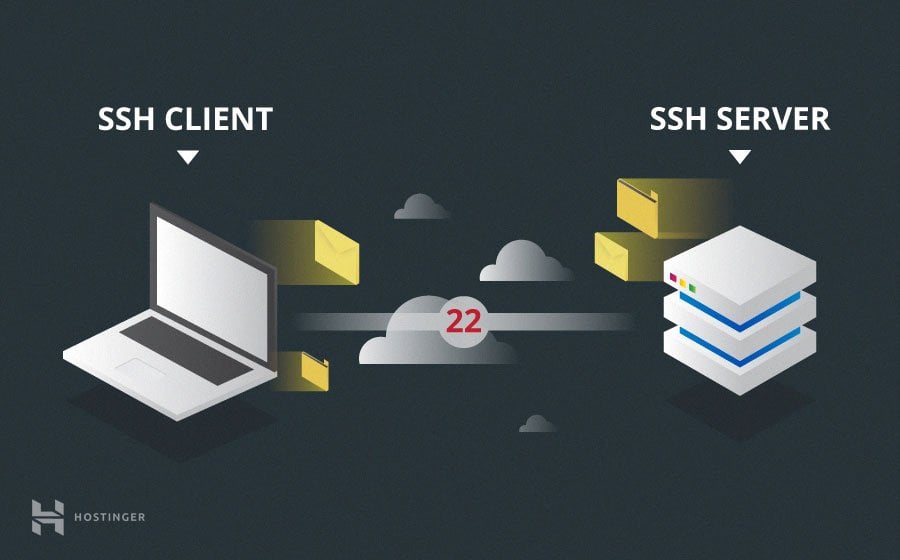
SSH, or Secure Shell, is a cryptographic network protocol that ensures secure communication over unsecured networks. When combined with web-based interfaces, it becomes a powerful tool for IoT enthusiasts and professionals alike. This setup provides a seamless way to interact with your devices without compromising on security.
Here are some key benefits of using RemoteIoT web SSH:
- Enhanced security through encrypted connections
- Convenient web-based access from any device
- Easy integration with existing IoT systems
- Cost-effective solution for remote management
Why You Need a RemoteIoT Web SSH Tutorial
Now, you might be wondering why you need a tutorial for this. Well, setting up and managing RemoteIoT web SSH can be a bit tricky if you're not familiar with the process. A good tutorial will walk you through every step, ensuring that you set up your system correctly and securely.
Here's what a RemoteIoT web SSH tutorial can offer you:
- Step-by-step instructions for setting up your environment
- Guidance on configuring SSH keys for secure authentication
- Tips for optimizing performance and troubleshooting common issues
- Insights into best practices for maintaining security
Getting Started with RemoteIoT Web SSH
Before we dive into the nitty-gritty, let's talk about the prerequisites. To get started with RemoteIoT web SSH, you'll need a few things:
- A device running an IoT operating system
- An SSH client installed on your local machine
- A stable internet connection
- Basic knowledge of Linux commands
Once you have these essentials in place, you're ready to roll. The first step is to install the necessary software on your IoT device. This typically involves setting up an SSH server and configuring it to work with your web interface.
Setting Up Your RemoteIoT Web SSH Environment
Alright, let's get our hands dirty. The first thing you need to do is set up your environment. This involves configuring your IoT device to act as an SSH server. Here's how you can do it:
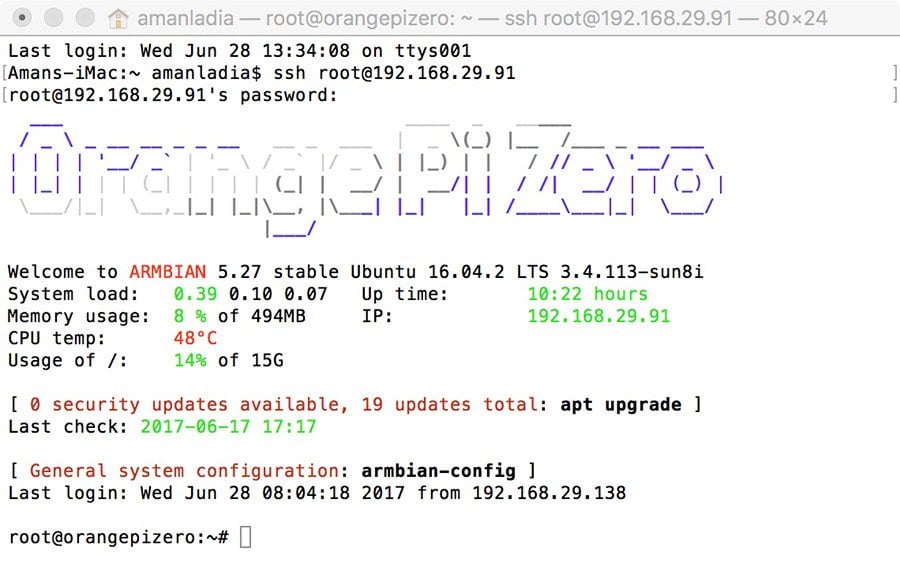
First, log in to your IoT device via terminal or command prompt. Then, install the SSH server software. For most Linux-based systems, you can use the following command:
sudo apt-get install openssh-server
After the installation is complete, start the SSH service by running:
sudo service ssh start
That's it! Your IoT device is now ready to accept SSH connections.
Configuring SSH Keys for Secure Authentication
Now that your SSH server is up and running, it's time to configure SSH keys for secure authentication. This step is crucial as it ensures that only authorized users can access your IoT device.
Here's how you can generate SSH keys on your local machine:
ssh-keygen -t rsa -b 4096
Once the keys are generated, copy the public key to your IoT device:
ssh-copy-id user@iot-device-ip
With SSH keys in place, you can now log in to your IoT device without entering a password every time.
Accessing Your IoT Devices via Web SSH
Now comes the exciting part – accessing your IoT devices via a web-based SSH interface. There are several tools and platforms available that allow you to achieve this. One of the most popular options is WebSSH2, which provides a simple and secure way to connect to your devices through a browser.
To use WebSSH2, you'll need to install it on your IoT device. Here's how:
npm install -g webssh2
Once installed, start the WebSSH2 server:
webssh2 -H 0.0.0.0 -p 3000
Now, open your web browser and navigate to:
http://iot-device-ip:3000
You should see a web-based SSH interface where you can log in using your SSH credentials.
Optimizing Performance and Security
Now that you have access to your IoT devices via web SSH, it's important to optimize performance and ensure top-notch security. Here are a few tips to help you achieve that:
- Use strong and unique passwords for your SSH accounts
- Disable password authentication and rely solely on SSH keys
- Limit the number of failed login attempts to prevent brute-force attacks
- Regularly update your SSH server software to patch security vulnerabilities
Troubleshooting Common Issues
Even with the best setup, you might encounter some issues along the way. Here are a few common problems and how to fix them:
Issue 1: Unable to Connect to SSH Server
This could be due to a variety of reasons, such as incorrect IP address, firewall restrictions, or misconfigured SSH settings. Check your network configuration and ensure that the SSH port (default is 22) is open and accessible.
Issue 2: Slow Connection Speed
If you're experiencing slow connection speeds, try optimizing your network settings. Use a wired connection instead of Wi-Fi, and ensure that your IoT device has sufficient resources to handle SSH connections.
Best Practices for RemoteIoT Web SSH Management
Finally, let's talk about some best practices for managing your RemoteIoT web SSH setup:
- Regularly monitor your system logs for suspicious activity
- Keep your software and firmware up to date
- Use a dedicated network segment for IoT devices
- Limit access to trusted users only
Conclusion
And there you have it – your ultimate guide to mastering RemoteIoT web SSH tutorial. By following the steps outlined in this article, you'll be able to set up a secure and efficient remote access system for your IoT devices. Remember, security is paramount, so always adhere to best practices and stay vigilant.
Now it's your turn! Take action by setting up your RemoteIoT web SSH environment and start exploring the possibilities. Don't forget to leave a comment below sharing your experiences and tips. And if you found this tutorial helpful, be sure to share it with your fellow tech enthusiasts.
Table of Contents
- What is RemoteIoT Web SSH?
- Why You Need a RemoteIoT Web SSH Tutorial
- Getting Started with RemoteIoT Web SSH
- Setting Up Your RemoteIoT Web SSH Environment
- Configuring SSH Keys for Secure Authentication
- Accessing Your IoT Devices via Web SSH
- Optimizing Performance and Security
- Troubleshooting Common Issues
- Best Practices for RemoteIoT Web SSH Management
- Conclusion
References: