Hey there, tech enthusiasts! If you're reading this, chances are you're looking for a way to harness the power of IoT (Internet of Things) with VNC (Virtual Network Computing) on your Raspberry Pi—all for free, right from your Mac. Well, buckle up because we're diving deep into the world of remote computing, and I promise it's gonna be a wild ride. IoT remote VNC anywhere using Raspberry Pi free on Mac? Totally possible, and we’re about to break it all down for you step by step.
Let’s face it, technology has come a long way. Gone are the days when you needed expensive hardware and subscriptions to access remote systems. These days, you can set up an IoT-enabled remote desktop environment using a Raspberry Pi, all for free. And the best part? You can control it from your Mac without breaking a sweat. This setup isn’t just cool; it’s practical, efficient, and downright empowering.
So whether you're a DIY enthusiast, a student, or just someone who loves tinkering with tech, this guide is your golden ticket to mastering IoT remote VNC anywhere. Stick around, and by the end of this, you’ll be ready to rock your own remote computing setup. Let’s get started!
Understanding IoT and VNC: The Basics
Before we jump into the nitty-gritty of setting up IoT remote VNC anywhere with Raspberry Pi free on Mac, let’s take a moment to understand what these terms actually mean. It’s like learning the rules of the game before you step onto the field, ya know?
IoT, or Internet of Things, refers to the network of physical devices—like sensors, appliances, and even your Raspberry Pi—that are connected to the internet. These devices communicate with each other and exchange data, creating a smart ecosystem. Meanwhile, VNC is a graphical desktop sharing system that allows you to remotely control another computer over the internet. Combine the two, and you’ve got yourself a powerful tool for remote access and automation.
Why Use IoT with VNC?
Here’s the thing: IoT and VNC are like peanut butter and jelly. They complement each other perfectly. By integrating IoT with VNC, you can remotely monitor and control IoT devices from anywhere in the world. Whether you’re managing a home automation system, monitoring environmental sensors, or just accessing your files remotely, this combination opens up endless possibilities.
Setting Up Raspberry Pi for IoT Remote VNC
Alright, let’s talk about the star of the show: the Raspberry Pi. This tiny yet mighty device is the perfect platform for setting up an IoT remote VNC system. Plus, it’s super affordable, making it accessible for anyone who wants to dive into the world of remote computing.
What You’ll Need
- Raspberry Pi (any model will do, but newer models have better performance)
- MicroSD card (at least 16GB)
- Raspberry Pi OS (download it for free from the official website)
- A stable internet connection
- A computer or Mac to set up the Pi initially
Once you’ve gathered all the necessary hardware and software, it’s time to roll up your sleeves and get started. Trust me, the process is simpler than you think.
Installing Raspberry Pi OS and Enabling VNC
The first step in setting up IoT remote VNC anywhere is installing Raspberry Pi OS on your device. This is the operating system that powers your Pi and makes everything tick. Follow these steps to get started:
Step 1: Download Raspberry Pi OS
Head over to the official Raspberry Pi website and download the latest version of Raspberry Pi OS. Make sure to choose the version that suits your needs—Lite if you want a lightweight setup, or Full if you need a desktop environment.
Step 2: Flash the OS to Your MicroSD Card
Use a tool like Balena Etcher to flash the downloaded OS image onto your MicroSD card. This process usually takes a few minutes, depending on your computer’s speed.
Step 3: Enable SSH and VNC
Before you boot up your Pi, you’ll need to enable SSH and VNC. Create a blank file named "ssh" (without any extension) in the root directory of the MicroSD card. Then, download and install the RealVNC software on your Mac to connect to your Pi remotely.
Connecting Your Raspberry Pi to the Internet
Now that your Raspberry Pi is set up with the OS and VNC enabled, it’s time to connect it to the internet. This step is crucial because IoT remote VNC anywhere relies on a stable internet connection.
Using Wi-Fi vs. Ethernet
If your Pi supports Wi-Fi, you can connect it wirelessly. Simply configure the Wi-Fi settings during the initial boot process. However, if you want a more stable connection, consider using an Ethernet cable. It’s faster and less prone to interference.
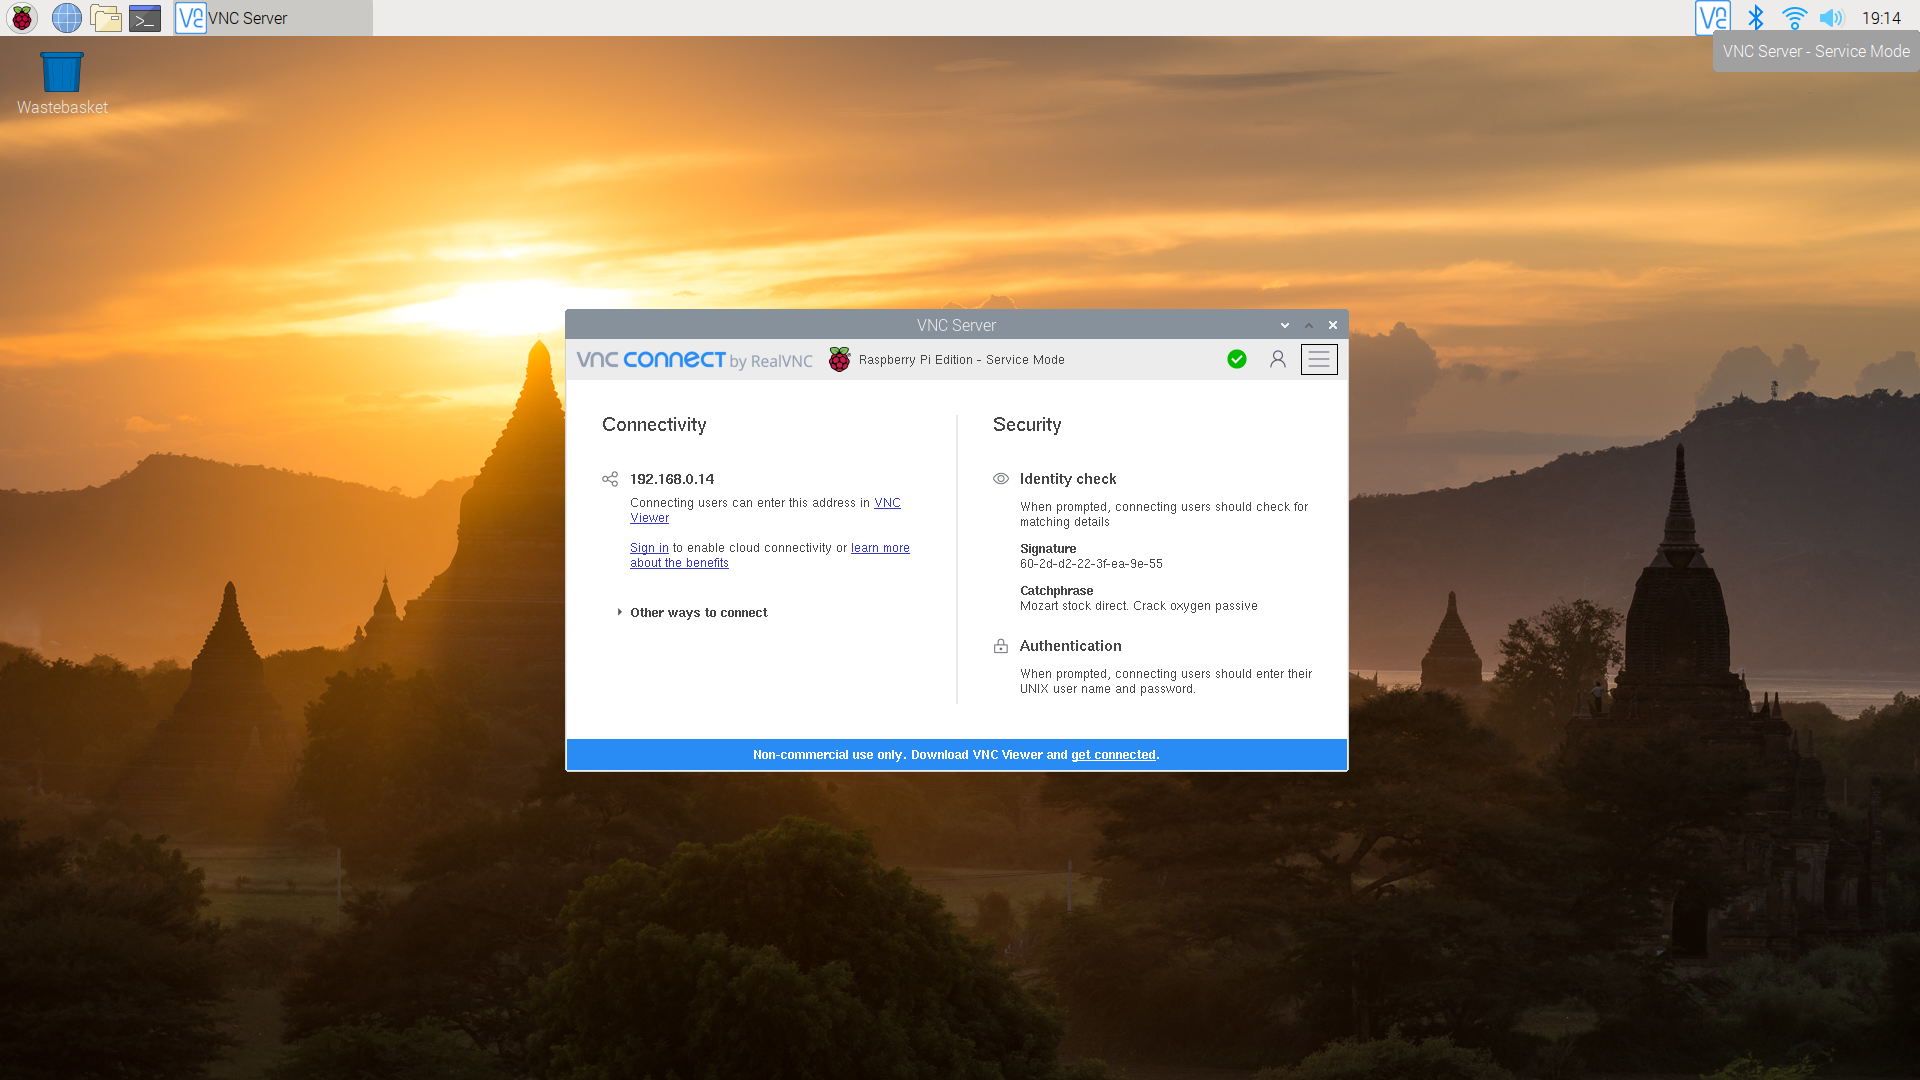
Setting Up VNC Server on Raspberry Pi
With your Pi connected to the internet, it’s time to set up the VNC server. This is what allows you to access your Pi remotely from your Mac.
Step 1: Update Your Pi
Open the terminal on your Pi and run the following commands to update the system:
sudo apt update && sudo apt upgrade
Step 2: Install VNC Server
Run the following command to install the VNC server:
sudo apt install realvnc-vnc-server realvnc-vnc-viewer
Step 3: Configure VNC
Once the installation is complete, launch the VNC server and configure it according to your preferences. You can set a password and choose whether to allow clipboard sharing between your Mac and Pi.
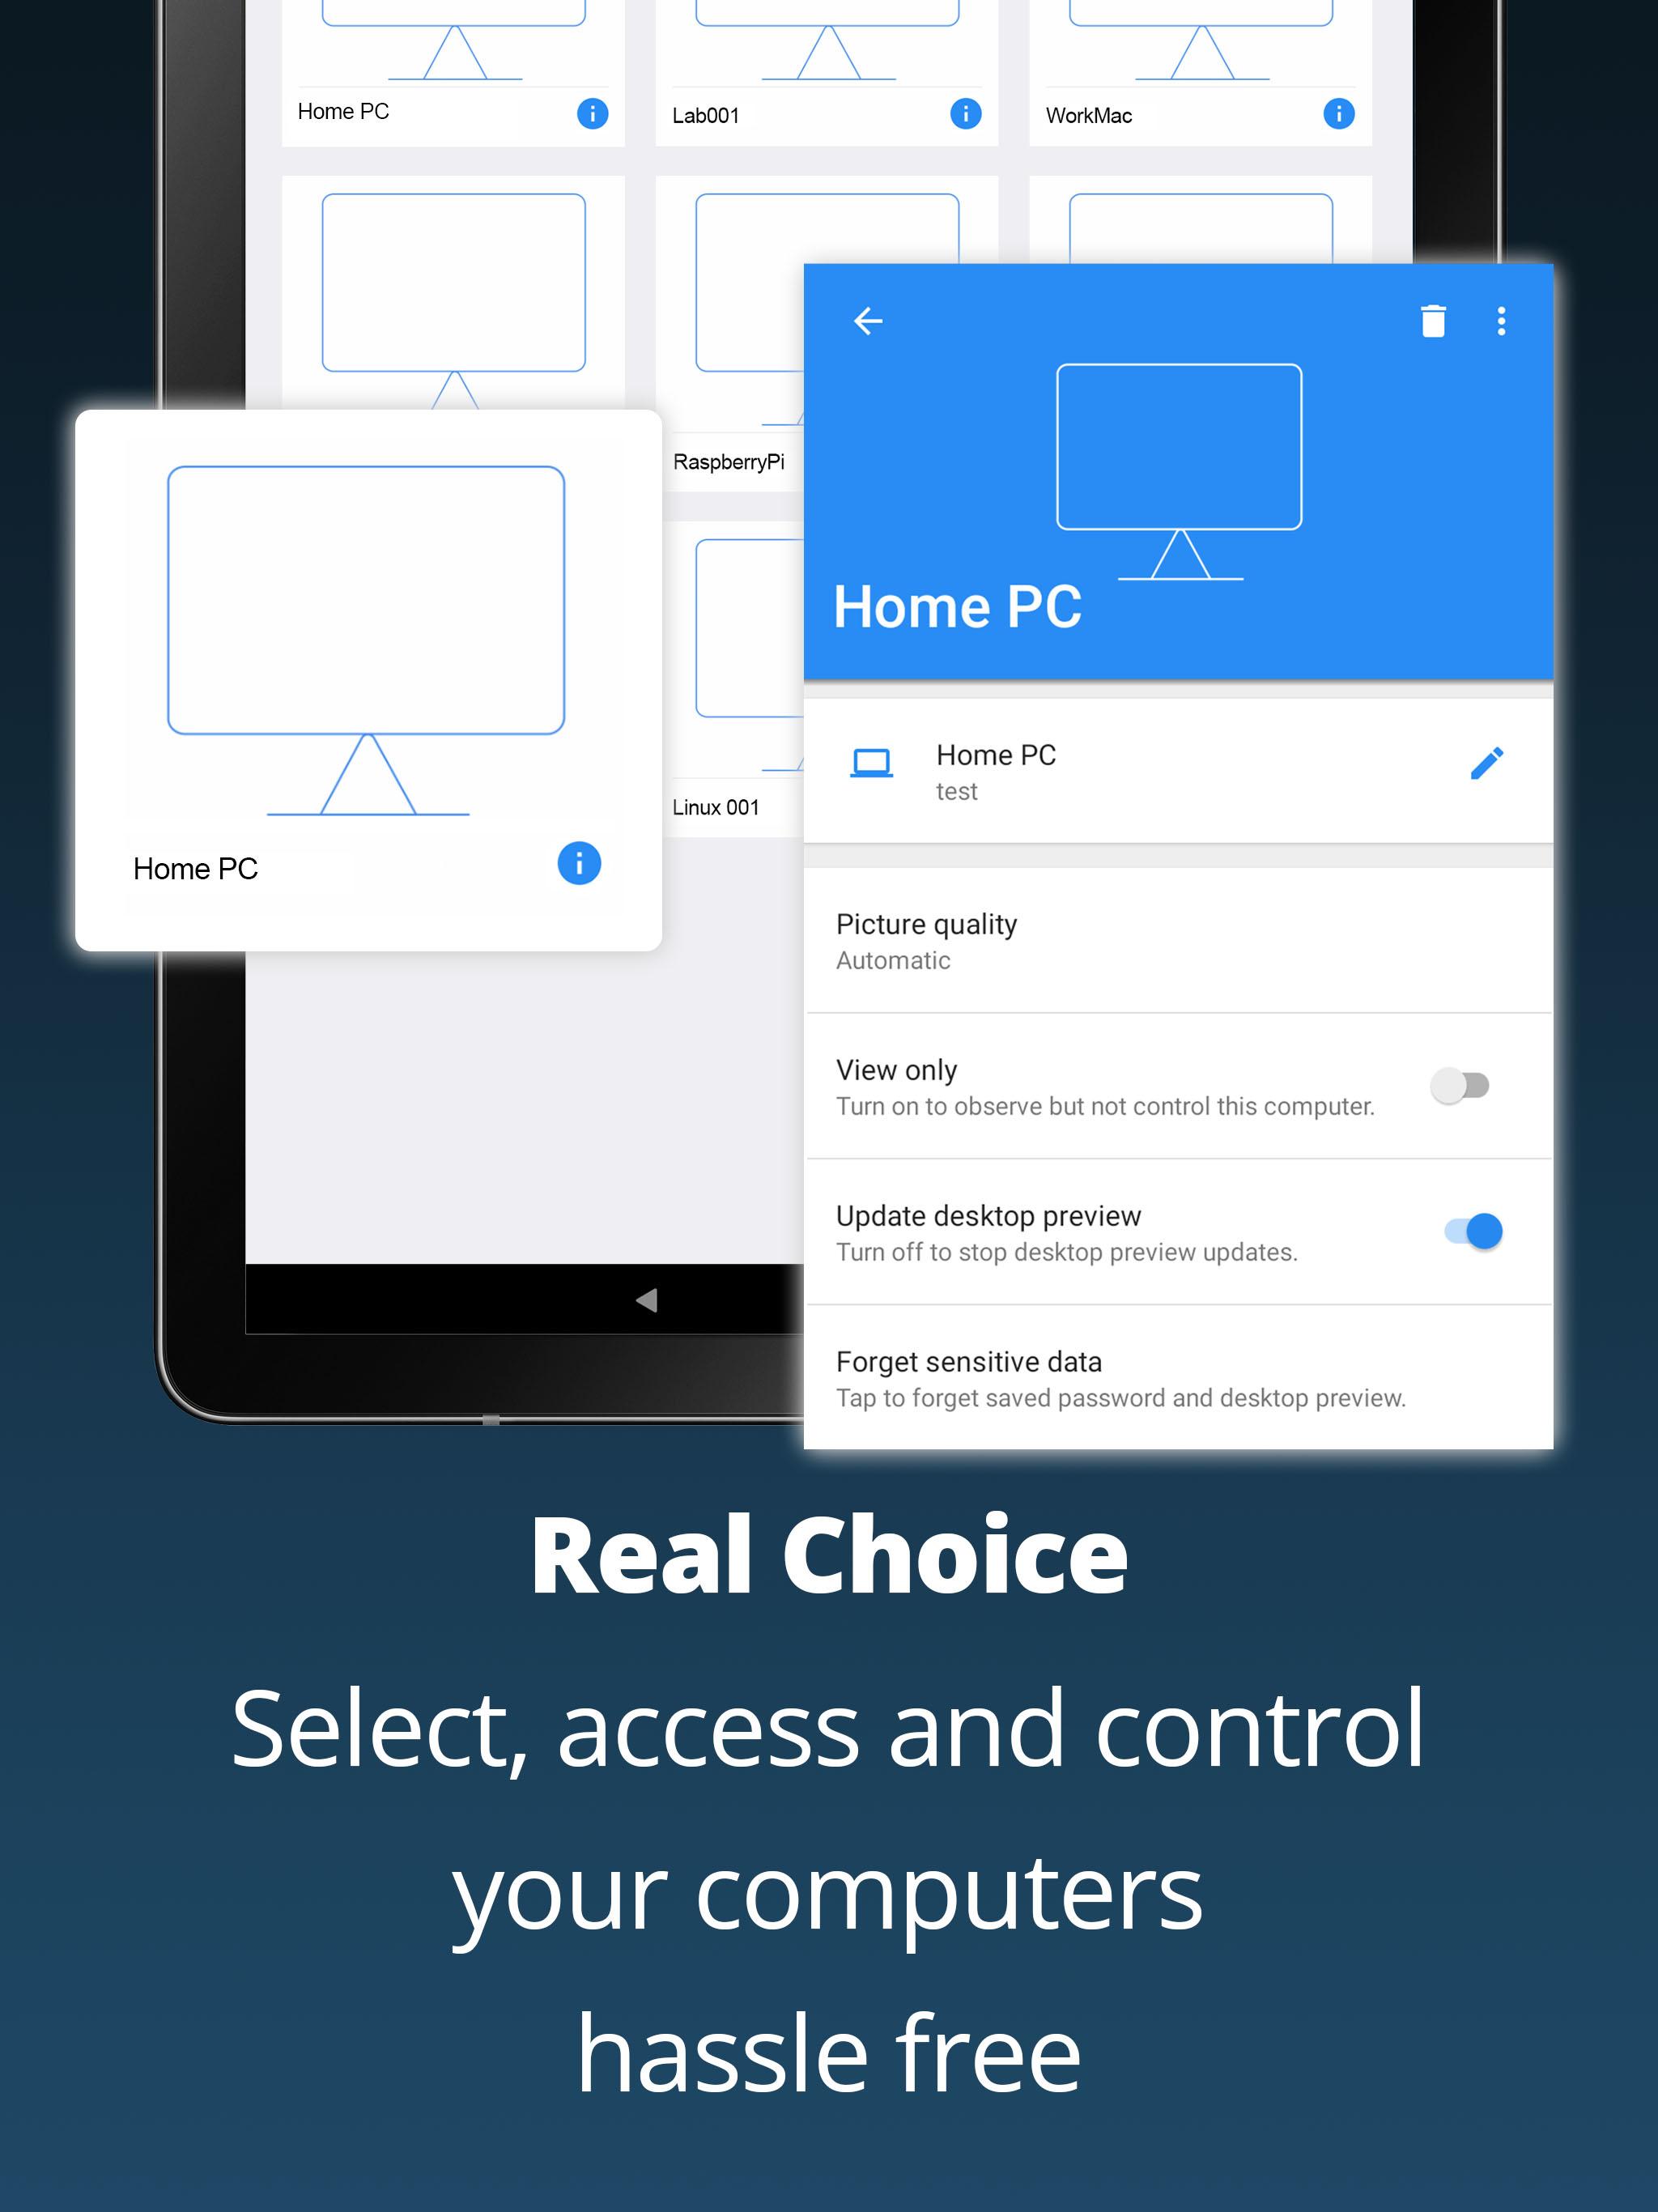
Connecting to Your Raspberry Pi from Mac
Now comes the fun part: connecting to your Raspberry Pi from your Mac. This is where the magic of IoT remote VNC anywhere happens.
Step 1: Install VNC Viewer on Mac
Download and install the RealVNC Viewer app on your Mac. It’s free and works seamlessly with Raspberry Pi.
Step 2: Connect to Your Pi
Open the VNC Viewer app and enter your Pi’s IP address. If you don’t know the IP address, you can find it by running the following command in the terminal:
hostname -I
Step 3: Access Your Pi
Enter your VNC password when prompted, and you’ll be greeted with the desktop environment of your Raspberry Pi. From here, you can control your Pi as if you were sitting right in front of it.
Enhancing Security for IoT Remote VNC
Security is a top priority when it comes to IoT remote VNC anywhere. After all, you’re granting remote access to your system, so it’s important to take precautions.
Use Strong Passwords
Never use weak or easily guessable passwords for your VNC server. Use a combination of uppercase and lowercase letters, numbers, and symbols to create a strong password.
Enable Firewall
Set up a firewall on your Pi to block unauthorized access. You can use tools like UFW (Uncomplicated Firewall) to simplify the process.
Troubleshooting Common Issues
Even the best-laid plans can sometimes go awry. If you run into issues while setting up IoT remote VNC anywhere with Raspberry Pi free on Mac, don’t panic. Here are some common problems and their solutions:
Issue 1: Can’t Connect to Pi
If you can’t connect to your Pi, double-check the IP address and ensure that both devices are on the same network. Also, verify that the VNC server is running on your Pi.
Issue 2: Slow Connection
A slow connection can be frustrating, but it’s usually caused by a weak internet connection or heavy network traffic. Try using Ethernet instead of Wi-Fi for a more stable connection.
Applications of IoT Remote VNC Anywhere
So, now that you’ve set up IoT remote VNC anywhere with Raspberry Pi free on Mac, what can you actually do with it? The possibilities are endless!
Home Automation
Use your Raspberry Pi to control smart home devices like lights, thermostats, and security cameras. With VNC, you can manage these devices from anywhere in the world.
Remote Monitoring
Set up sensors to monitor temperature, humidity, and other environmental factors. Access the data remotely using VNC and make informed decisions based on real-time information.
Conclusion: Take Action Today!
And there you have it, folks! Setting up IoT remote VNC anywhere with Raspberry Pi free on Mac is not only possible but also incredibly rewarding. Whether you’re a tech enthusiast, a student, or just someone who loves exploring new possibilities, this setup offers a world of opportunities.
So what are you waiting for? Grab your Raspberry Pi, follow the steps in this guide, and start building your own IoT remote VNC system. And don’t forget to share your experience in the comments below. Who knows? You might just inspire someone else to take the leap into the world of remote computing!
Table of Contents
- Understanding IoT and VNC: The Basics
- Setting Up Raspberry Pi for IoT Remote VNC
- Installing Raspberry Pi OS and Enabling VNC
- Connecting Your Raspberry Pi to the Internet
- Setting Up VNC Server on Raspberry Pi
- Connecting to Your Raspberry Pi from Mac
- Enhancing Security for IoT Remote VNC
- Troubleshooting Common Issues
- Applications of IoT Remote VNC Anywhere
- Conclusion: Take Action Today!
Remember, the power of IoT remote VNC anywhere is in your hands. So go ahead and make the most of it!