So here's the deal, if you're into tech and gadgets, you've probably heard of Raspberry Pi. It's not just a tiny computer; it's a game-changer for hobbyists, developers, and IoT enthusiasts. Today, we’re diving deep into the world of Raspberry Pi, specifically focusing on how you can use it for remote IoT applications on Android. Let's get started, shall we
Think about this: you've got a Raspberry Pi sitting at home, humming along, monitoring your smart home devices or running some cool automation scripts. But what if you could access all that data or control those devices from your Android phone, no matter where you are? That's where Raspberry Pi RemoteIoT comes into play. It's like having a remote control for your entire tech setup right in your pocket.
Now, I know what you're thinking. "Is it really that easy?" Well, the answer is yes, but there are a few tricks and tips to make it work seamlessly. This guide will walk you through everything you need to know about downloading, setting up, and using Raspberry Pi RemoteIoT on your Android device. So buckle up, because we're about to embark on a tech adventure like no other.
Here's a quick table of contents to help you navigate through this guide:
- What is Raspberry Pi
- Raspberry Pi RemoteIoT Overview
- Why Use RemoteIoT
- How to Download Raspberry Pi RemoteIoT on Android
- Installation Process
- Connecting to Raspberry Pi
- Common Issues and Solutions
- Advanced Features
- Tips and Tricks
- Conclusion
What is Raspberry Pi?
Raspberry Pi is basically a mini computer that fits in the palm of your hand. It’s super affordable, super versatile, and super powerful. You can use it for all sorts of projects, from building a media center to creating a smart home automation system. The possibilities are endless, man.
Now, the Raspberry Pi isn’t just any old computer. It’s designed to be a learning tool, a development platform, and a DIY powerhouse. It runs on Linux-based operating systems, which makes it perfect for tinkering around with code and hardware. And the best part? It’s got a massive community of users who are constantly sharing projects, tutorials, and tips.
So whether you’re a seasoned developer or a total newbie, Raspberry Pi is a great way to get your hands dirty with some real tech magic.
Raspberry Pi RemoteIoT Overview
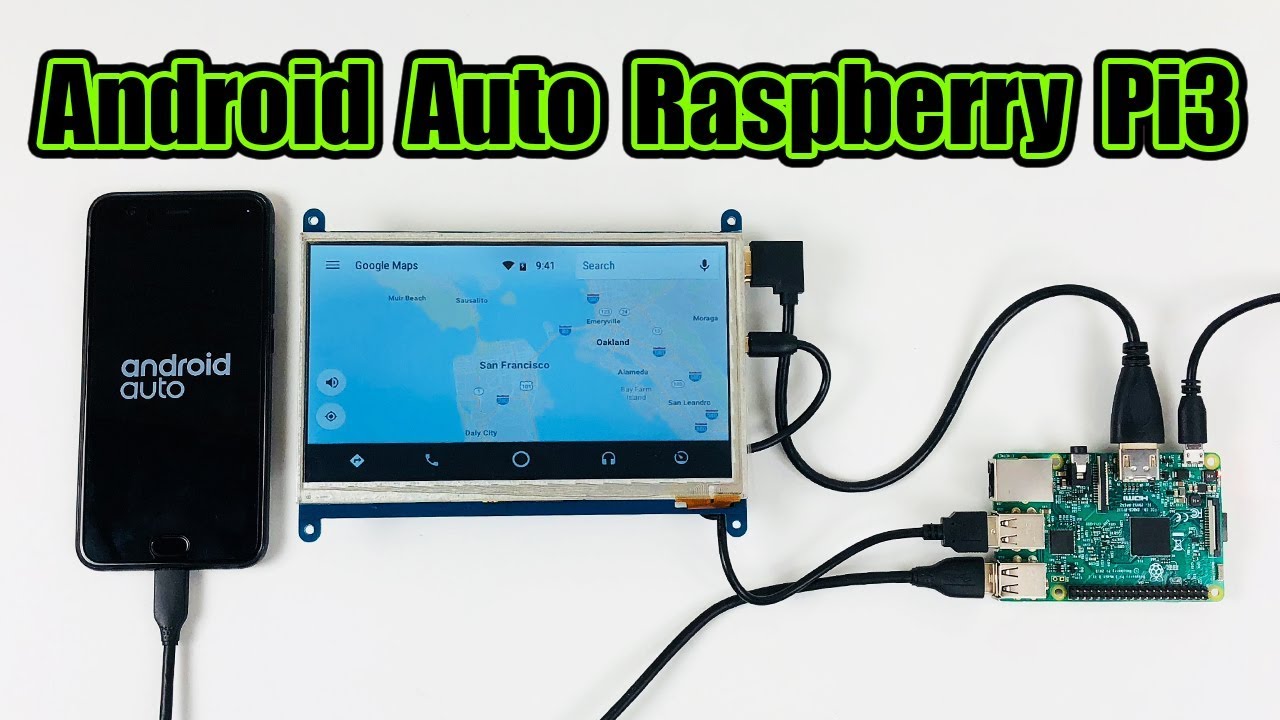
Alright, let’s talk about RemoteIoT. This is basically a software solution that allows you to connect your Android device to your Raspberry Pi and control all your IoT devices remotely. Imagine being able to check the temperature in your greenhouse, turn off lights in your living room, or even monitor security cameras from anywhere in the world. That’s the power of RemoteIoT.
Key Features
- Remote access to Raspberry Pi from Android
- Control IoT devices with ease
- Monitor real-time data streams
- Secure connection with encryption
RemoteIoT is designed to be user-friendly, even for those who aren’t tech wizards. It’s got a sleek interface that makes it easy to navigate and control all your devices from one central location. Plus, it’s constantly being updated with new features and improvements, so you’re always getting the latest and greatest.
Why Use RemoteIoT?
Let’s face it, in today’s world, convenience is king. And that’s exactly what RemoteIoT offers. Here are a few reasons why you should consider using it:
Saves Time
Instead of running back and forth to check on your devices, you can do it all from your phone. Need to adjust the thermostat? No problem. Want to check if the garage door is closed? Easy peasy.
Increases Efficiency
With RemoteIoT, you can automate tasks and set up schedules for your devices. This not only saves you time but also helps you optimize energy usage, which can lead to cost savings in the long run.
Enhances Security
Being able to monitor your security cameras and other devices remotely gives you peace of mind. You can check in on your home or office anytime, anywhere.
How to Download Raspberry Pi RemoteIoT on Android
Downloading Raspberry Pi RemoteIoT on your Android device is a breeze. Here’s a step-by-step guide to help you get started:
Step 1: Find the App
Head over to the Google Play Store and search for "Raspberry Pi RemoteIoT." You should see it pop up in the search results. Make sure you’re downloading it from a trusted source.
Step 2: Install the App
Once you’ve found the app, tap on the "Install" button. The app will download and install automatically. This usually takes just a few seconds, depending on your internet speed.
Step 3: Launch the App
After the installation is complete, open the app and follow the on-screen instructions to set it up. It’s pretty straightforward, but we’ll go into more detail in the next section.
Installation Process
Now that you’ve downloaded the app, it’s time to set it up. Here’s what you need to do:
Step 1: Connect to Your Raspberry Pi
First, you’ll need to make sure your Raspberry Pi is set up and running. Once that’s done, you’ll need to configure it to allow remote connections. This usually involves setting up SSH or VNC, depending on your preference.
Step 2: Configure the App
Open the RemoteIoT app and enter the IP address of your Raspberry Pi. You’ll also need to enter your login credentials. Don’t worry, the app will guide you through this process.
Step 3: Test the Connection
Once everything is set up, test the connection to make sure everything is working properly. You should be able to access your Raspberry Pi and control your IoT devices with ease.
Connecting to Raspberry Pi
Connecting to your Raspberry Pi might seem a bit daunting at first, but trust me, it’s not that hard. Here are a few tips to make the process smoother:
Use Static IP
Assign a static IP address to your Raspberry Pi. This will make it easier to connect to it from your Android device. Plus, it ensures that the IP address doesn’t change, which can cause connection issues.
Secure Your Connection
Make sure you’re using a secure connection, preferably over HTTPS or SSH. This will protect your data from prying eyes and ensure that your devices are safe from unauthorized access.
Common Issues and Solutions
Even with the best intentions, things can sometimes go wrong. Here are a few common issues you might encounter and how to fix them:
Issue 1: Can’t Connect to Raspberry Pi
This could be due to a number of reasons, such as incorrect IP address, wrong login credentials, or firewall settings. Double-check all your settings and make sure your Raspberry Pi is online.
Issue 2: Slow Connection
If you’re experiencing slow connection speeds, try optimizing your network settings. You might also want to consider using a wired connection instead of Wi-Fi for better performance.
Advanced Features
Once you’ve got the basics down, it’s time to explore some of the more advanced features of Raspberry Pi RemoteIoT. Here are a few things you can try:
Automation Scripts
Set up automation scripts to control your devices based on certain conditions. For example, you could have your lights turn on automatically when it gets dark outside.
Integration with Other Services
Integrate RemoteIoT with other services like Google Assistant or Alexa for voice control. This adds another layer of convenience and makes your smart home even smarter.
Tips and Tricks
Here are a few tips and tricks to help you get the most out of Raspberry Pi RemoteIoT:
- Regularly update your Raspberry Pi and the RemoteIoT app to ensure you have the latest features and security patches.
- Use strong passwords and enable two-factor authentication for added security.
- Experiment with different configurations to find what works best for your setup.
Conclusion
And there you have it, folks. A comprehensive guide to using Raspberry Pi RemoteIoT on Android. From downloading and installing the app to setting up advanced features, we’ve covered it all. Remember, the key to a successful setup is patience and persistence. Don’t be afraid to experiment and try new things.
Now it’s your turn. Have you tried using Raspberry Pi RemoteIoT? What’s your favorite feature? Let us know in the comments below. And if you found this guide helpful, don’t forget to share it with your friends and fellow tech enthusiasts. Happy tinkering!