Ever wondered how you can securely access your Windows 10 PC from anywhere using a remote SSH server? Well, buckle up because we’re diving deep into the world of RemoteIoT Web SSH Servers. This game-changing technology is revolutionizing the way we interact with our devices remotely. Whether you're a tech enthusiast, a small business owner, or just someone who loves to tinker with gadgets, this guide is your ultimate companion to mastering remote access on Windows 10.
Imagine this—you're chilling at a café miles away from home, and suddenly you need to grab an important file from your computer. No problem! With a RemoteIoT Web SSH Server set up on your Windows 10 machine, you can connect to your PC as if you're sitting right in front of it. It's like having a magic portal to your desktop, but without the wizard robe and hat.
Now, let's get one thing straight—this isn't just about convenience. Setting up a remote SSH server on Windows 10 is also about security. In today’s digital world, where cyber threats lurk around every corner, having a secure connection is non-negotiable. And that’s where RemoteIoT comes in. So, let's roll up our sleeves and explore how you can harness the power of this technology.
Why RemoteIoT Web SSH Server is a Game-Changer
Before we dive into the nitty-gritty of setting up a RemoteIoT Web SSH Server on Windows 10, let's talk about why it's such a big deal. SSH, or Secure Shell, is like the Swiss Army knife of remote access tools. It allows you to securely connect to another computer over an encrypted network. And when you combine it with RemoteIoT, you get a setup that's not only secure but also super easy to use.
Here’s the deal: traditional remote access methods often require complex configurations or third-party software. But with RemoteIoT, you can set up a web-based SSH server in no time. It’s like having a personal IT guy living inside your computer, ready to help whenever you need it.
Key Benefits of Using RemoteIoT Web SSH Server
Let’s break it down into bite-sized chunks so you can see why everyone’s raving about RemoteIoT:
- Security First: SSH uses encryption to protect your data during transmission, making it virtually impossible for hackers to intercept your information.
- Web-Based Accessibility: No need to install bulky software. With RemoteIoT, you can access your Windows 10 PC from any device with a web browser.
- Flexibility: Whether you're troubleshooting a network issue, managing files, or running applications, RemoteIoT gives you the freedom to do it all from anywhere.
- Cost-Effective: Say goodbye to expensive third-party solutions. RemoteIoT is a budget-friendly option that delivers enterprise-level functionality.
Getting Started: Setting Up RemoteIoT Web SSH Server on Windows 10
Alright, let's get down to business. Setting up a RemoteIoT Web SSH Server on Windows 10 might sound intimidating, but trust me, it's easier than you think. Follow these simple steps, and you'll be up and running in no time.
Step 1: Enable SSH on Your Windows 10 Machine
First things first, you need to enable the OpenSSH server on your Windows 10 PC. Here's how you do it:
- Press the Windows key + S to open the search bar.
- Type "Turn Windows features on or off" and select the option from the results.
- Scroll down and check the box for "OpenSSH Server".
- Click "OK" and restart your computer if prompted.
Voila! You've just enabled SSH on your Windows 10 machine. Now let's move on to the next step.
Step 2: Install RemoteIoT Software
Next, you'll need to download and install the RemoteIoT software. This magical piece of tech will allow you to create a web-based SSH server on your Windows 10 PC. Head over to the official RemoteIoT website, grab the latest version, and follow the installation instructions. It's as easy as pie.
Configuring Your RemoteIoT Web SSH Server
Now that you've got everything installed, it's time to configure your RemoteIoT Web SSH Server. This step is crucial because it ensures that your server is secure and ready to handle incoming connections.
Setting Up User Authentication
One of the most important aspects of configuring your SSH server is setting up user authentication. You don't want just anyone waltzing into your system, do you? Here's how you can secure your server:
- Create a strong password for your SSH user account.
- Consider using public key authentication for added security.
- Limit access to specific IP addresses if possible.
These steps might seem like overkill, but trust me, they'll save you a headache down the road.
Adjusting Firewall Settings
Your Windows 10 firewall is like a bouncer at a club—it decides who gets in and who stays out. To allow RemoteIoT Web SSH Server to function properly, you'll need to adjust your firewall settings. Here's how:
- Go to Control Panel > System and Security > Windows Defender Firewall.
- Click on "Advanced Settings" in the left-hand menu.
- Create a new inbound rule to allow traffic on port 22 (the default SSH port).
And just like that, your firewall is all set to welcome your SSH connections with open arms.
Connecting to Your RemoteIoT Web SSH Server
With everything configured, it's time to test your setup. Grab your smartphone, tablet, or laptop, and let's connect to your RemoteIoT Web SSH Server.
Using a Web Browser
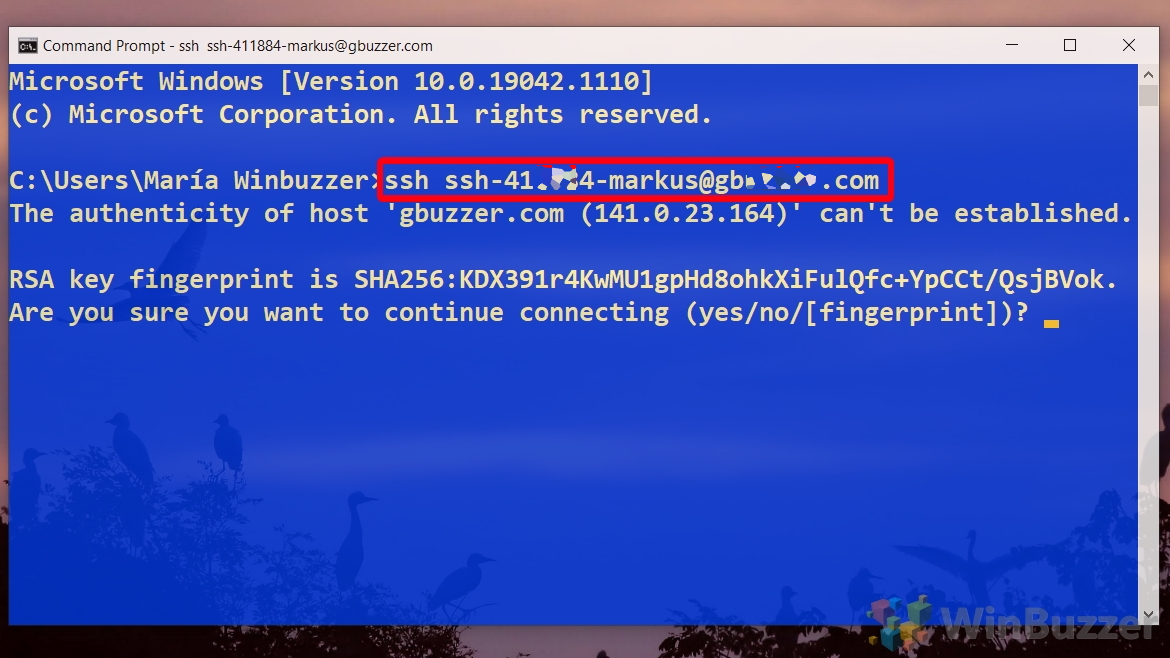
One of the coolest things about RemoteIoT is that you can connect to your SSH server using any web browser. Simply enter the server's IP address followed by ":22" in the address bar, and you're good to go. For example:
http://yourserverip:22
Enter your login credentials when prompted, and you'll be connected to your Windows 10 PC in no time.
Alternative Clients for Enhanced Functionality
While using a web browser is convenient, sometimes you might want a bit more functionality. In that case, consider using an SSH client like PuTTY or Bitvise. These tools offer advanced features like file transfer and terminal emulation, making them perfect for power users.
Troubleshooting Common Issues
Even the best-laid plans can hit a snag now and then. If you're having trouble connecting to your RemoteIoT Web SSH Server, here are a few common issues and how to fix them:
Problem: Connection Refused
If you're getting a "connection refused" error, it usually means that your SSH server isn't running or the port isn't open. Double-check that the OpenSSH service is active and that your firewall settings are correct.
Problem: Authentication Failed
Authentication issues can be frustrating, but they're usually easy to fix. Make sure you're entering the correct username and password. If you're using public key authentication, ensure that your public key is properly installed on the server.
Maximizing Security with RemoteIoT Web SSH Server
Security should always be at the forefront of your mind when setting up a remote SSH server. Here are some tips to keep your RemoteIoT Web SSH Server as secure as Fort Knox:
- Change the default SSH port from 22 to something less obvious.
- Use strong, unique passwords for all user accounts.
- Enable two-factor authentication for an extra layer of protection.
- Regularly update your software to patch any security vulnerabilities.
By following these best practices, you'll ensure that your RemoteIoT Web SSH Server remains impervious to attackers.
Exploring Advanced Features
Once you've got the basics down, it's time to explore some of the advanced features that RemoteIoT Web SSH Server has to offer. From automating tasks to setting up virtual private networks (VPNs), the possibilities are endless.
Automating Tasks with SSH Scripts
SSH scripts can save you a ton of time by automating repetitive tasks. Whether you're backing up files, managing databases, or monitoring system performance, SSH scripts have got you covered.
Setting Up a VPN for Enhanced Security
If you're dealing with sensitive data, consider setting up a VPN alongside your RemoteIoT Web SSH Server. This will encrypt all traffic between your devices and your Windows 10 PC, providing an extra layer of security.
Conclusion: Taking Your Remote Access Game to the Next Level
There you have it—your comprehensive guide to setting up a RemoteIoT Web SSH Server on Windows 10. From enabling SSH to configuring user authentication and firewall settings, we've covered everything you need to know to get up and running.
Remember, the key to a successful remote access setup is security. Always follow best practices and stay vigilant against potential threats. And don't forget to explore the advanced features that RemoteIoT has to offer—they'll take your remote access game to the next level.
So, what are you waiting for? Go ahead and set up your RemoteIoT Web SSH Server today. And when you're done, drop a comment below and let us know how it went. Who knows, you might just inspire someone else to take the leap into the world of remote access technology!
Table of Contents
- Why RemoteIoT Web SSH Server is a Game-Changer
- Getting Started: Setting Up RemoteIoT Web SSH Server on Windows 10
- Configuring Your RemoteIoT Web SSH Server
- Connecting to Your RemoteIoT Web SSH Server
- Troubleshooting Common Issues
- Maximizing Security with RemoteIoT Web SSH Server
- Exploring Advanced Features
- Conclusion: Taking Your Remote Access Game to the Next Level