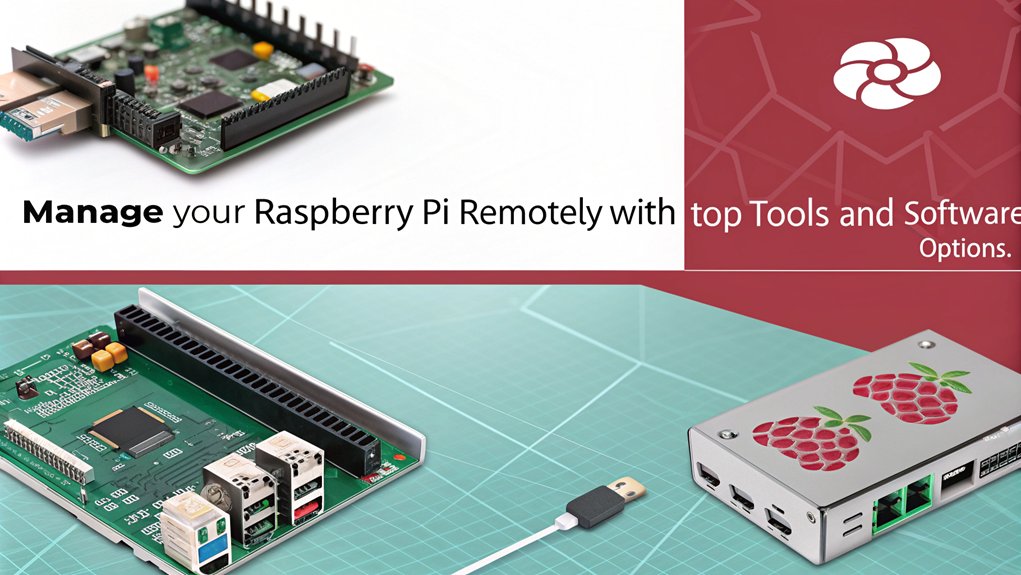
Hey there, tech wizards and Raspberry Pi lovers! If you're diving into the world of remote Raspberry Pi management free online, you're in for a treat. This little device has become a game-changer for hobbyists, developers, and professionals alike. Whether you're tinkering with home automation or building complex IoT systems, mastering remote access is essential. Let's break down how you can take full control of your Raspberry Pi from anywhere in the world without breaking the bank.
Picture this: you're sipping coffee in your favorite café while your Raspberry Pi sits comfortably at home. With the right tools and techniques, you can manage, monitor, and troubleshoot your Pi as if you were right there next to it. This guide will walk you through everything you need to know about remote Raspberry Pi management free online, ensuring you're equipped with the knowledge to tackle any challenge.
Before we dive deep into the technical aspects, let's get one thing straight—remote management isn't just about convenience; it's about efficiency. You'll save time, resources, and energy by accessing your Pi remotely. Plus, who doesn't love a bit of tech wizardry? Let's get started and unlock the potential of your Raspberry Pi!
Understanding the Basics of Remote Raspberry Pi Management
First things first, let's talk about what remote Raspberry Pi management actually means. In simple terms, it's the ability to control and interact with your Raspberry Pi from a different location. Whether you're across the room or across the globe, this setup allows you to run commands, update software, and even reboot your device without physically being present.
Now, why is this important? Well, imagine setting up a weather station using your Raspberry Pi. You can collect data, analyze trends, and make informed decisions—all from the comfort of your couch. Or perhaps you're managing a security camera system. With remote access, you can monitor feeds and adjust settings whenever needed.
Why Remote Management Matters
Remote Raspberry Pi management free online offers several advantages that make it an indispensable tool for modern tech enthusiasts. Here's a quick rundown:
- Flexibility: Access your Pi anytime, anywhere, using just an internet connection.
- Cost-Effectiveness: Many solutions are free or low-cost, making them accessible to everyone.
- Scalability: Once you've mastered remote management, you can scale your projects to include multiple devices.
- Security: With the right configurations, you can ensure your Pi remains safe from unauthorized access.
By leveraging these benefits, you'll not only enhance your project's functionality but also streamline your workflow.
Setting Up Your Raspberry Pi for Remote Access
Alright, let's get our hands dirty. The first step in remote Raspberry Pi management free online is setting up your device properly. This involves configuring SSH (Secure Shell), which is the most common method for remote access.
Enabling SSH on Your Raspberry Pi
SSH is a network protocol that allows secure communication between devices. To enable it on your Raspberry Pi, follow these steps:
- Boot up your Raspberry Pi and log in.
- Open the terminal and type
sudo raspi-config. - Select "Interfacing Options" and navigate to "SSH".
- Choose "Yes" to enable SSH and confirm your selection.
- Reboot your Raspberry Pi for the changes to take effect.
Once SSH is enabled, you're ready to connect to your Pi from another device.
Connecting to Your Raspberry Pi Remotely
Now that SSH is up and running, it's time to connect to your Raspberry Pi remotely. You'll need two things: the Pi's IP address and a terminal emulator on your computer.
Finding Your Raspberry Pi's IP Address
There are several ways to find your Pi's IP address. Here's one of the simplest methods:
- Open the terminal on your Raspberry Pi.
- Type
hostname -Iand press Enter. - The terminal will display your Pi's IP address.
Make sure your Raspberry Pi and the device you're using are connected to the same network for this step.
Using PuTTY or Terminal Emulators
For Windows users, PuTTY is a popular choice for SSH connections. Mac and Linux users can use their built-in terminal applications. Here's how to connect:
- Open PuTTY or your terminal emulator.
- Enter your Raspberry Pi's IP address in the "Host Name" field.
- Set the port to 22 (default for SSH).
- Click "Open" or press Enter to establish the connection.
Voilà! You're now connected to your Raspberry Pi remotely.
Exploring Free Tools for Remote Raspberry Pi Management
While SSH is powerful, it's not the only tool in your arsenal. There are several free tools available that can enhance your remote Raspberry Pi management experience. Let's take a look at some of the best options.
VNC Viewer: Beyond the Command Line
VNC Viewer allows you to access your Raspberry Pi's graphical desktop remotely. This is particularly useful if you're working on projects that require a GUI. Here's how to set it up:
- Enable VNC in the Raspberry Pi Configuration tool.
- Download and install VNC Viewer on your computer or mobile device.
- Connect to your Pi's IP address using VNC Viewer.
With VNC Viewer, you can interact with your Pi as if you were sitting right in front of it.
Web-Based Solutions: No Installation Required
For those who prefer a more lightweight approach, web-based solutions like WebIOPi and Pi-Web-Agent are excellent choices. These tools allow you to manage your Raspberry Pi through a web browser, eliminating the need for additional software.
Here's how to set up WebIOPi:
- Install WebIOPi on your Raspberry Pi using the terminal.
- Access the web interface by entering your Pi's IP address followed by ":8000" in your browser.
- Explore the various features and controls available.
These tools are perfect for quick troubleshooting or monitoring tasks.
Securing Your Remote Raspberry Pi Connection
Security should always be a top priority when managing your Raspberry Pi remotely. Here are some tips to keep your device safe:
- Change the default username and password to something unique and strong.
- Use a firewall to restrict access to your Pi.
- Enable two-factor authentication (2FA) whenever possible.
- Regularly update your Pi's software to patch vulnerabilities.
By implementing these measures, you'll significantly reduce the risk of unauthorized access.
Setting Up a Static IP Address
A static IP address ensures that your Raspberry Pi's address doesn't change, making it easier to connect remotely. Here's how to set it up:
- Open the terminal and type
sudo nano /etc/dhcpcd.conf. - Add the following lines at the bottom of the file:
interface eth0static ip_address=192.168.1.x/24(replace x with your desired IP).static routers=192.168.1.1static domain_name_servers=192.168.1.1- Save and exit the file, then reboot your Raspberry Pi.
With a static IP, you'll always know where to find your Pi on the network.
Troubleshooting Common Issues
Even the best-laid plans can go awry sometimes. Here are some common issues you might encounter with remote Raspberry Pi management free online and how to fix them:
- Connection Refused: Double-check your IP address and ensure SSH is enabled.
- Authentication Failure: Verify your username and password, and ensure they match what's set on your Pi.
- Network Issues: Ensure both your Raspberry Pi and connecting device are on the same network.
If you're still stuck, don't hesitate to reach out to the Raspberry Pi community for support.
Seeking Help: The Power of Community
The Raspberry Pi community is vibrant and supportive, with countless forums, blogs, and social media groups dedicated to helping users. Whether you're a beginner or an experienced developer, there's always someone willing to lend a hand.
Best Practices for Remote Raspberry Pi Management
To get the most out of your remote Raspberry Pi management free online experience, here are some best practices to keep in mind:
- Document your setup and configurations for future reference.
- Regularly back up your Pi's data to prevent loss in case of failure.
- Test your remote access setup regularly to ensure everything is working as expected.
By following these guidelines, you'll create a robust and reliable system for managing your Raspberry Pi.
Conclusion: Take Control of Your Raspberry Pi
And there you have it—a comprehensive guide to remote Raspberry Pi management free online. From setting up SSH to exploring free tools and securing your connection, you now have all the knowledge you need to take control of your Pi from anywhere in the world.
Remember, the key to successful remote management lies in preparation, security, and continuous learning. So, what are you waiting for? Fire up your Raspberry Pi, connect remotely, and start building your next big project.
Don't forget to share your experiences and tips in the comments below. And if you found this guide helpful, consider sharing it with your fellow tech enthusiasts. Happy tinkering!
Table of Contents
- Understanding the Basics of Remote Raspberry Pi Management
- Setting Up Your Raspberry Pi for Remote Access
- Connecting to Your Raspberry Pi Remotely
- Exploring Free Tools for Remote Raspberry Pi Management
- Securing Your Remote Raspberry Pi Connection
- Troubleshooting Common Issues
- Best Practices for Remote Raspberry Pi Management
- Conclusion: Take Control of Your Raspberry Pi